
As outlined previously, published in 1980 on page 84 of Carl Sagan’s Cosmos, there is an incredible image of a lunar dome initially discovered by myself in February of 1995 and discussed on the radio in March of the same year. We will now begin to go over Apollo image AS12-47-6890 and the various other image frames from the sequence in which it appears. As our analysis proceeds, we will use images from other Apollo missions, especially Apollo 14, as well as the Lunar Reconnaissance Orbiter, to help assist in understanding what is in the Pasteur crater area. 1)For the Apollo 14 image Dr. Sagan published in his book Pale Blue Dot, see part 5 of this series.
Although the imagery available for perusal at The Project Apollo Archive and its flickr companion site with “1800 dpi scans” provides what are labeled as “hi-res” images of Hassleblad magazine photography, many of the so called “hi-res” scans of these images are, in fact, still low enough in resolution that close up zooms still introduce the familiar jpeg “artifacting.” Nevertheless, although this is somewhat of a disappointment, this is not true of the Hasselblads which are available from the ASU site entitled “March to the Moon” nor the current panoramic and metric camera scans that are also provided from the work of Arizona State University. There are countless interesting anomalies to be found in all this imagery, especially the Hassleblads from Apollo 10 when they first went “down among em” and were not exactly prepared for what they would encounter. The problem however, with the Hassleblad photography, is that there is clear indication that the scans are from high generations and not true original negatives, and there is also indication of deliberate debris put on some of the negatives so that when the photos were rescanned for lower order generations, the true lunar debris would potentially be dismissed through channels of plausible deniability. This is just one of the many discrepancies that have been found in the photography over the years. Examples of this will follow but for the present, whether it be AS10-32-4822 2)See Dark Mission pages 203-210 by Richard C. Hoagland and Mike Bara revised edition 2009 or with Sagan’s AS12-47-6890, it’s more tricks of light and shadow from your “local neigborhood space agency”.
The area of the Pastuer crater in the Apollo 12 sequence where frame AS12-47-6890 occurs has many features of intensive interest including strange “geologic” morphologies, large complex geometric patterns,3)In the words of Dr. Sagan in the actual caption on page 84 of Cosmos underneath the image in question “complex overlapping craters”objects suspended above the surface in craters, other objects suspended much higher up above the general lunar surface, light refractions of hexagonal nature and the overall abberantly bent horizon and strange lighting due to an unbelievable extent of countless square miles of glass like material above the surface of the Moon.
Now to briefly go over some of the features I mentioned in the last installment of this series.
What I have dubbed the “Sunglint” is reminiscent of the “specular reflection” over the Sinus Medii region of the Moon initially mentioned by Richard C. Hoagland in 1994 during his Ohio State University presentation.
The “Sunglint”:

The “Sunglint” appears to either be a reflection of the overall dome itself, which seems likely, or as I mentioned in our last installment, it is part of a tower or structure that can be faintly discerned by the filament like translucency to its immediate left (to the viewer) or can just as well be attributed to the luminosity that occurs immediately below it. This potential “tower” was apparently what Steve Troy was focusing on at the February 2003 conference in Albuquerque. (See also last part where I mention the conference and Steve Troy.)
The “Diamond” only occurs in the “Sagan version” published in Cosmos.
Note the three “dots” in the “Diamond”. This is a structural signature that assists in finding other “Diamonds”, as the “Diamond” is not alone. It is part of a family of similar features. Because the light is different at each angle of incident, some of the other “Diamonds” are much more transparent than the one shown above. It depends on where they are in order to show up in an image. Some of these appear only in the “Sagan version” of the dome as “three dots” but no “Diamond” body, others are in different frames and can actually be seen as in this one from a version of AS12-47-6872 that occurred only in Lawrence Allen’s “Mans Greatest Adventure”:

Now let’s look at some of the frames from the sequence of Apollo 12 imagery that the “Sagan Dome” occurs in. Presently, the images below were provided through the Apollo Project Archive, and not the Arizona University site. More detailed processing will be presented in future installments.
AS12-47-6879:

AS12-47-6880:

AS12-47-6881:

AS12-47-6882:

AS12-47-6883:

AS12-47-6884:

AS12-47-6885:

Lets now use some computer techniques to help us see what is in the image overall.
For many of us anomaly hunters it helps to provide some kind of an artistic rendition of what we are seeing in order for others to visualize what it is we are describing. Rather than draw a picture or diagram we will apply an image processing technique that helps illustrate the features alleged to be in the imagery because the refraction in the original imagery is enough to asist us in processing a depiction of the dome itself. The light refraction of the dome is quite pronounced when a vertical perspective is used that simulates descending closer to the surface and yet continuing to look towards the horizon. I will provide a number of simulated perspectives of the light refraction through the dome on multiple frame numbers to furnish a a variety of perspectives.
If enhancing contrast or lighting helps us establish the scattering of the visible light in a image and or resolve some factor of albedo or morphology of an object either in the field of vision of the lunar landscape itself, or actually above it, there are also some techniques that can be employed to help simulate refraction of light as well and to resolve the morphology of the object that is causing the refraction. It crucial to understand that zooming in on an image that has had a perspective algorithm applied to it will radically alter the pixel footprint and give enormous noise. The following refractive simulations are for the eye to resolve the light reflecting from the surface of the moon through various indices of refraction. Many of these refractions appear to be hexagonal in nature betraying the structual architecture of what that refractive index is made of. No liberties are being taken by hand painting or arbitrarily altering or blurring areas to enhance refraction in these images. It is simply applying a number to the computer which takes what is there and enhances it. Viewing these at a reasonable distance from the eye as, for instance, at arms length if viewing on a smart phone, is the best. This effectively is narrowing the horizontal refractive index for our eyes much like viewing the features in the images as if they were in a sink basin. Without this simulation the refractive index may be too subtle for most to see. 4)The more noticable bending of the horizon can be discerned by simply viewing even the non enhanced images edge on. One way of doing this would be accomplished on a smartphone by simply tilting the view screen until you are seeing the image edge on.
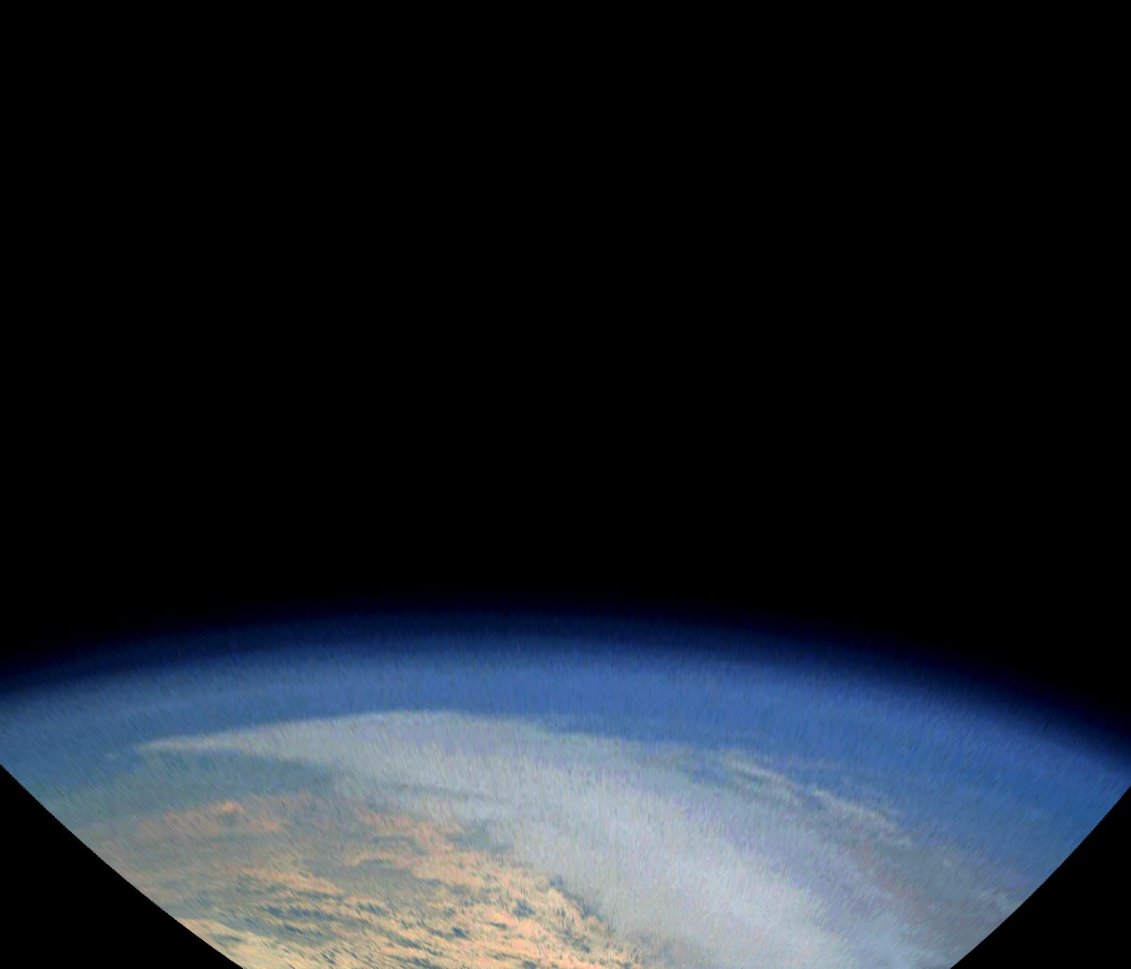
In illustrating this perspective technique we will first apply this perspective process on a smooth horizon. The following image is from the Apollo 9 mission:

Note how well preserved and non “bent”the horizon of the Earth is in the same Apollo 9 image even after the perspective process has been applied:
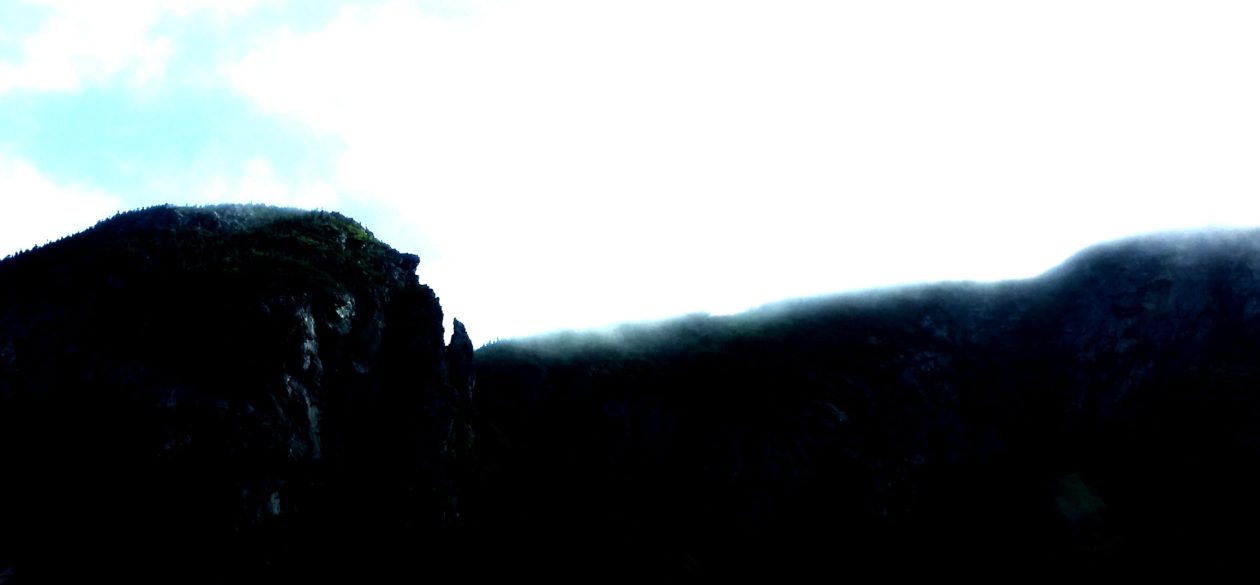
When the same simulated perspective is applied to the moons horizon in frames from the sequence that as12-47-6890 is from, the horizon of the moon is radically altered, indeed becomes much more so as the LM approaches the visible edge of the dome where the light bends the horizon and, astonishingly, tangent down the image from the very point where the refractive “bend” of the horizon occurs, we are also aware of light shifting from the red scale on the viewers right, to the blue scale on the viewers left. Strangely, this light shifting is masked in the image provided on page 84 of Cosmos, by the red appearance across the entire image, but this still does not betray the saturation effect by such a lighting shift as the saturation is lighter on the viewers right and darker on the viewers left in the “Sagan version” also. The point is, although in the internet provided imagery we have no “Sagan version” diamond appearing, we do have the light shifting effect and the visible light spectrum seems to be, for the most part, preserved. Also, in many frames from the sequence, as the LM approached the dome itself, the “wavy shower glass” or “venetian blind” effect that Richard Hoagland invokes from time to time can also be discerned.
ON THE FOLLOWING HASSLEBLAD IMAGES PROVIDED BY THE PROJECT APOLLO ARCHIVE THE SIMULATED PROCESS DESCRIBED ABOVE HAS BEEN APPLIED. “ZOOMING IN” IS DISCOURAGED AS THE RESOLVING EYE RESOLUTION OF THE RELEVANT FEATURES FOR OUR PURPOSE CAN BE SEEN WITHOUT ZOOMING IN. ENLARGING THESE IMAGES WILL SIMPLY INTRODUCE “JPEG ARTIFACTING”. AT THIS POINT IN OUR ANALYSIS, THESE ARE FOR PERUSAL ONLY. ADDITIONAL ZOOMED IN DETAIL FROM IMAGERY PROVIDED THROUGH ARIZONA STATE UNIVERSITY WILL BE PRESENTED HEREAFTER AS THIS SERIES CONTINUES.
AS12-47-6879 with a perspective process applied and a mild contrast and medium gamma applied. Note Earth reflecting off of dome:

AS12-47-6886 with the simulated perspective mentioned above and a rigorous contrast applied. Again, note the light spectrum shift from the red on the right to the blue on the left and immediately tangent to the refracted bend of the lunar horizon. This also helps our eyes contribute to the understanding of the volumetric nature of the lunar dome itself:

AS12-47-6883 with a perspective process applied:

AS12-47-6880, low gamma and contrast applied with a simulated perspective process:

Below is a detail of the same frame with additional contrast applied. Not only can you see the Earth’s reflection immediately occurring next to itself, the observant viewer can also discern an additional projected but small specular Earth reflection mid-way along the edge of the dome. An apparent volumetric effect is emerging and the hexagonal nature of the glass is beginning to reveal itself appearing as ghost-like structural translucence:

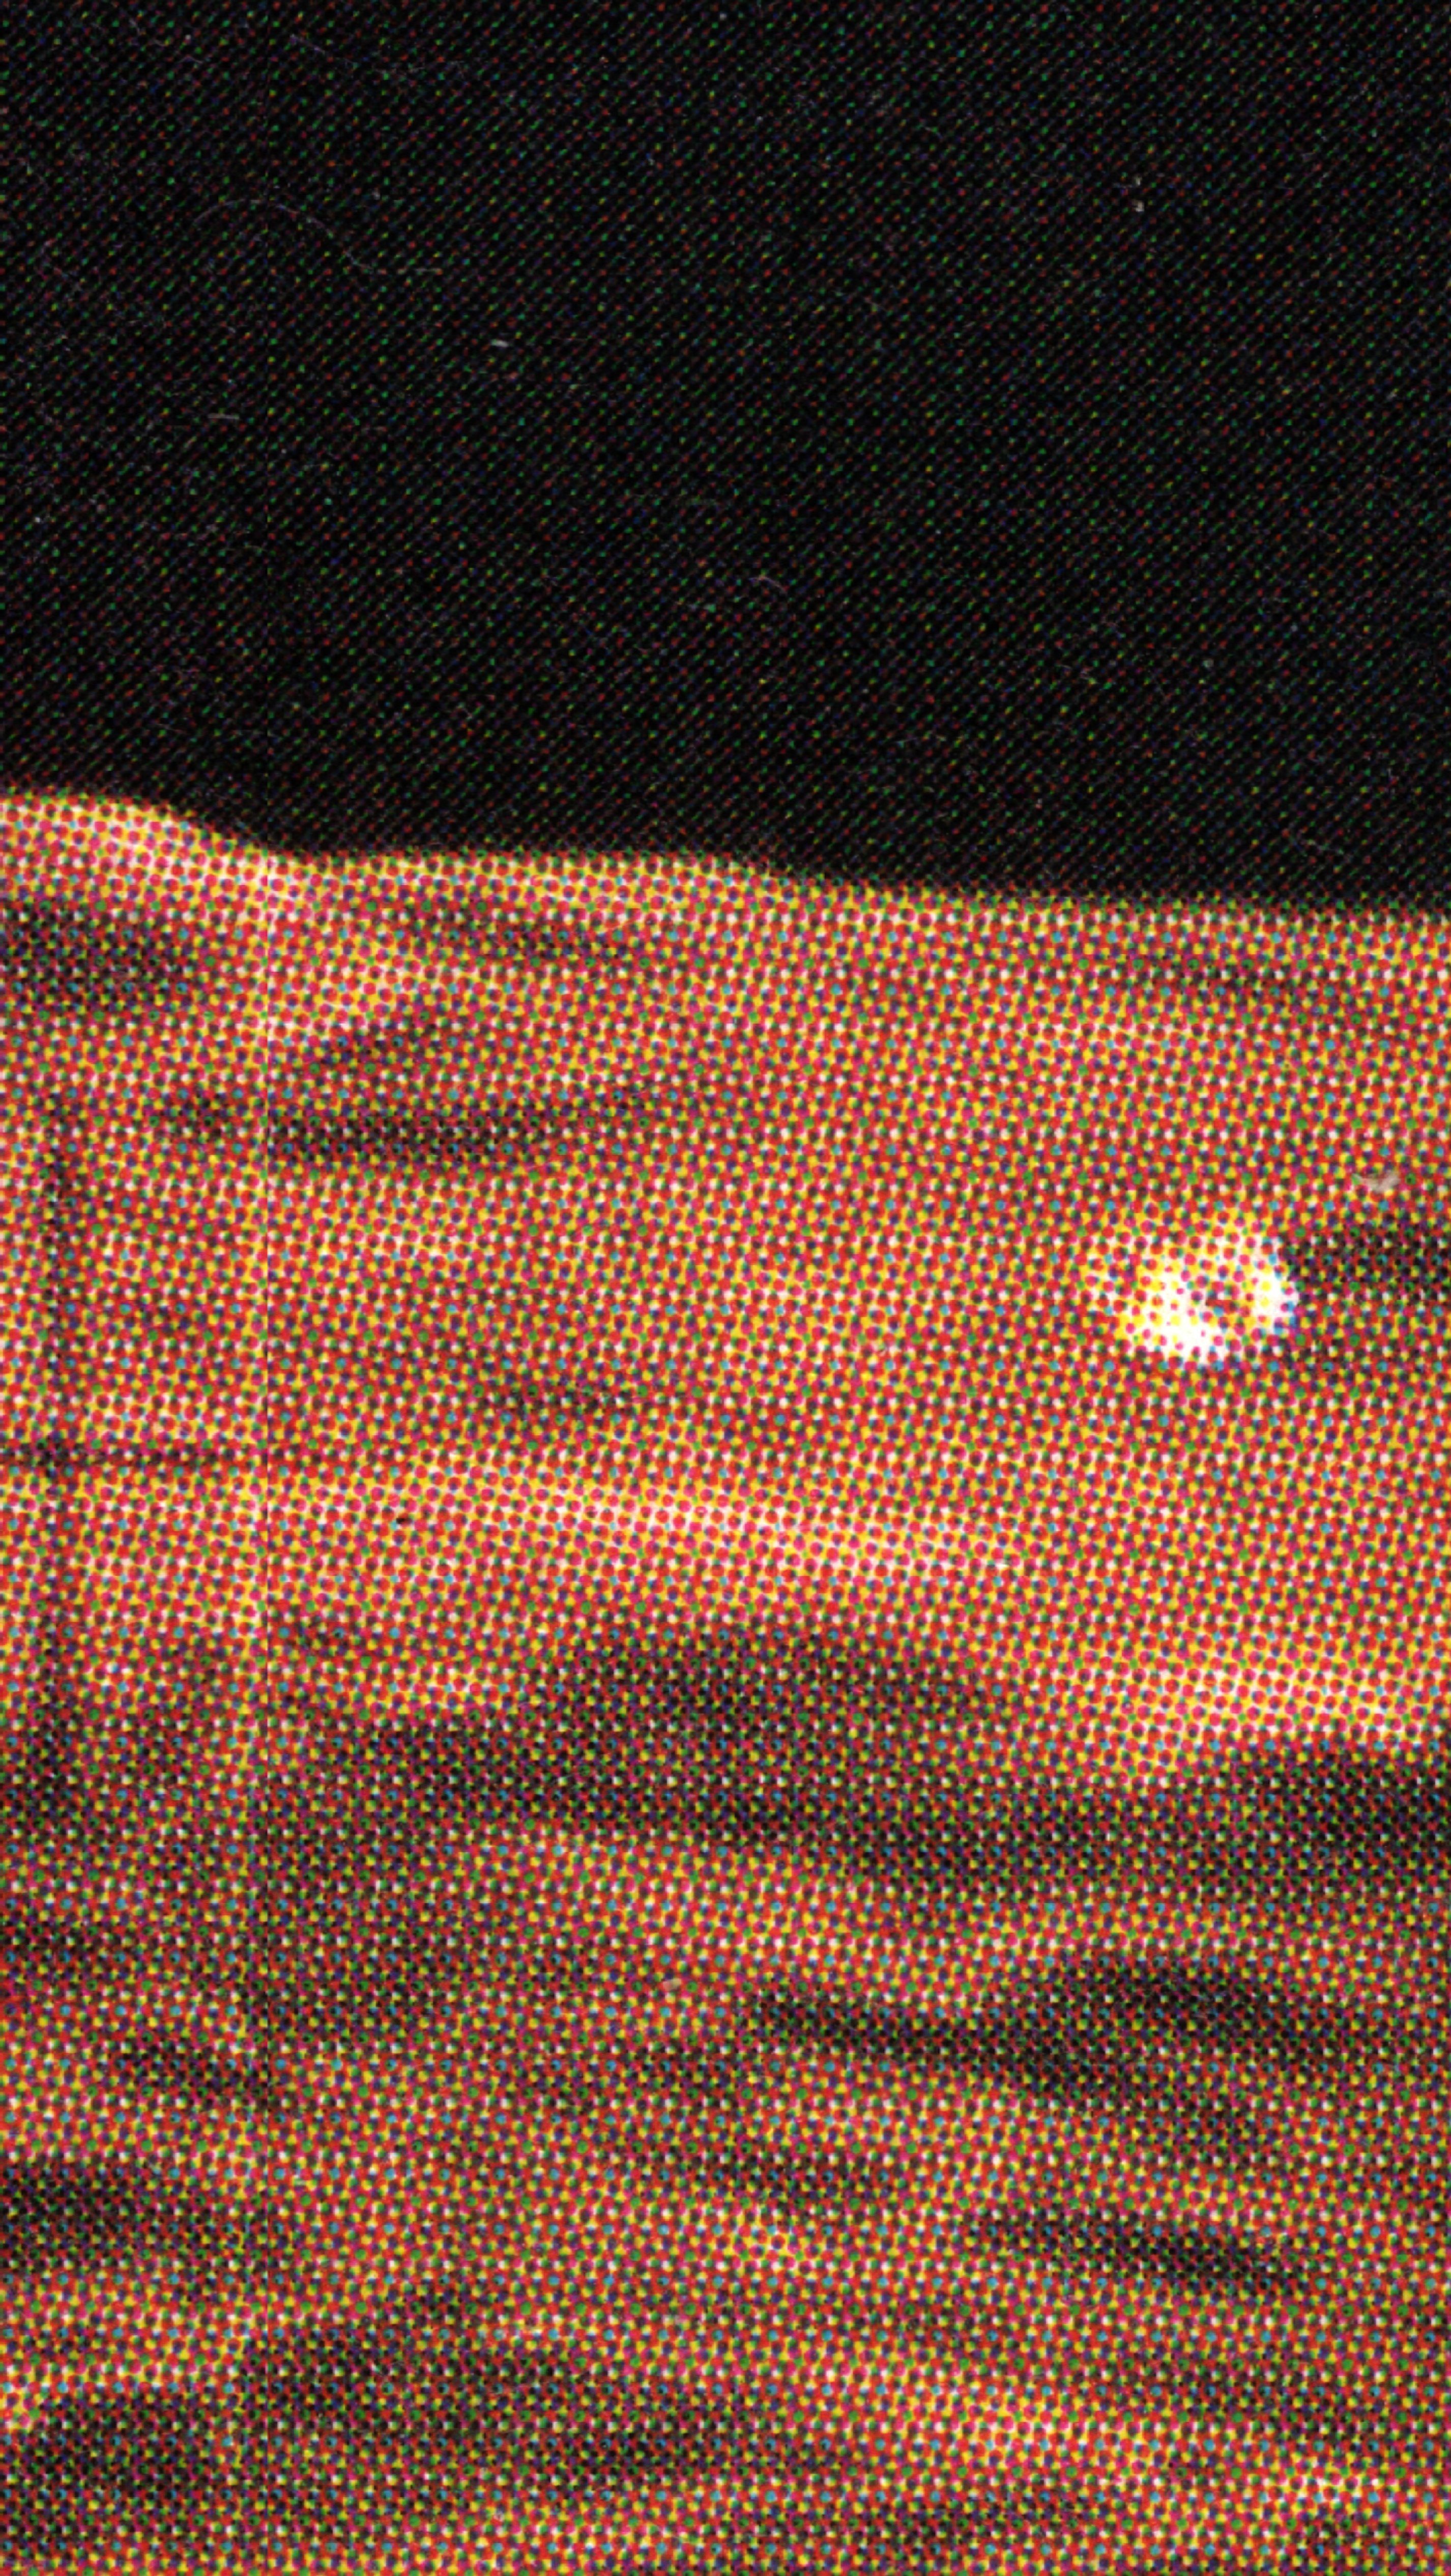
AS12-47-6883, with only the edge of the dome amplified. Note hexagonal glass continuing to reveal itself manifesting in a blue spectrum to our eyes in contrast to the darker spectrum of the surface below it:

Same image with edge of the “Sagan Dome” amplified as much as is reasonably possible. Again, the hexagonal glass is unmistakably apparent:

More “extraordinary evidence” to come…
References
| ↑1 | For the Apollo 14 image Dr. Sagan published in his book Pale Blue Dot, see part 5 of this series. |
|---|---|
| ↑2 | See Dark Mission pages 203-210 by Richard C. Hoagland and Mike Bara revised edition 2009 |
| ↑3 | In the words of Dr. Sagan in the actual caption on page 84 of Cosmos underneath the image in question “complex overlapping craters” |
| ↑4 | The more noticable bending of the horizon can be discerned by simply viewing even the non enhanced images edge on. One way of doing this would be accomplished on a smartphone by simply tilting the view screen until you are seeing the image edge on. |